This week's recipe was a long one, but I hope you had fun trying it.

I have a degree in Family and Consumer Sciences Education (aka Home Ec) which sort of makes me a jack of all trades, master of none. Foods and nutrition was never my forte in school, and I still can't believe I survived teaching foods classes to Jr. High students! After teaching Kindergarten for a year and Interior Design for a year, Nick and I moved to the Washington, D.C. area where we've been for almost 2 years now. I live within 2 blocks of restaurants from at least 10 different countries and am slowly breaking out of my food comfort zone.
I am enjoying baking things I have never had and would likely never know about without the group. I'm excited to continue this the rest of the year. I seriously don't know how I have survived all these years without Babka :) Here's this week's recipe!
Ciabatta Bread
Makes 2 loaves
This dough is wet and very, very sticky and cannot be kneaded by hand - a standing mixer is necessary here. This loaf takes two days to make, but for a faster version (without the sponge), use the same-day variation below; it will be slightly less flavorful but still very good: Omit the sponge. When assembling the dough in step 2, increase the amount of all-purpose flour to 6-1/2 cups, increase the water to 3 cups, and increase the yeast to 1 envelope (2-1/4 teaspoons).
SPONGE
2-1/2 cups (12-1/2 oz.) all-purpose flour
1-1/2 cups warm water (110 degrees)
1/4 teaspoon instant or rapid-rise yeast
DOUGH
4 cups (20 oz.) all-purpose flour
1 teaspoon instant or rapid-rise yeast
1-1/2 cups warm water (110 degrees)
2 teaspoons salt
- FOR THE SPONGE: Stir all of the ingredients together in a medium bowl until combined. Cover with plastic wrap and let sit at room temperature until the sponge has risen and fallen, at least 6 hours or up to 24 hours. You can see in the photo the "water mark" where my sponge rose to before it fell.

- FOR THE DOUGH: Combine the flour and yeast in a standing mixer fitted with the dough hook. With the mixer on low speed, add the water and mix until the dough comes together, about 2 minutes. Stop the mixer, cover the bowl with plastic wrap (no need to remove it from the mixer), and let sit at room temperature for 20 minutes.

- Remove the plastic wrap, add the sponge and salt, and knead the dough on medium-low speed until it is shiny and uniform (the dough will not clear the sides of the bowl), 3 to 5 minutes.

- Scrape the dough out into a large, lightly oiled bowl and cover tightly with plastic wrap. Let rise in a warm place for 1 hour. Dust the dough with flour and turn the dough. [Slide a plastic bench scraper or rubber spatula under one side of the dough; gently lift and fold a third of the dough toward the center. Repeat this motion with the opposite side of the dough. Finally, fold the dough in half, perpendicular to the first folds. The dough shape should be a rough square.] Re-cover the bowl with plastic wrap and let rise until tripled in size, about 1 hour longer. The first picture shows the shine and is before I turned the dough. The second picture shows it after rising.


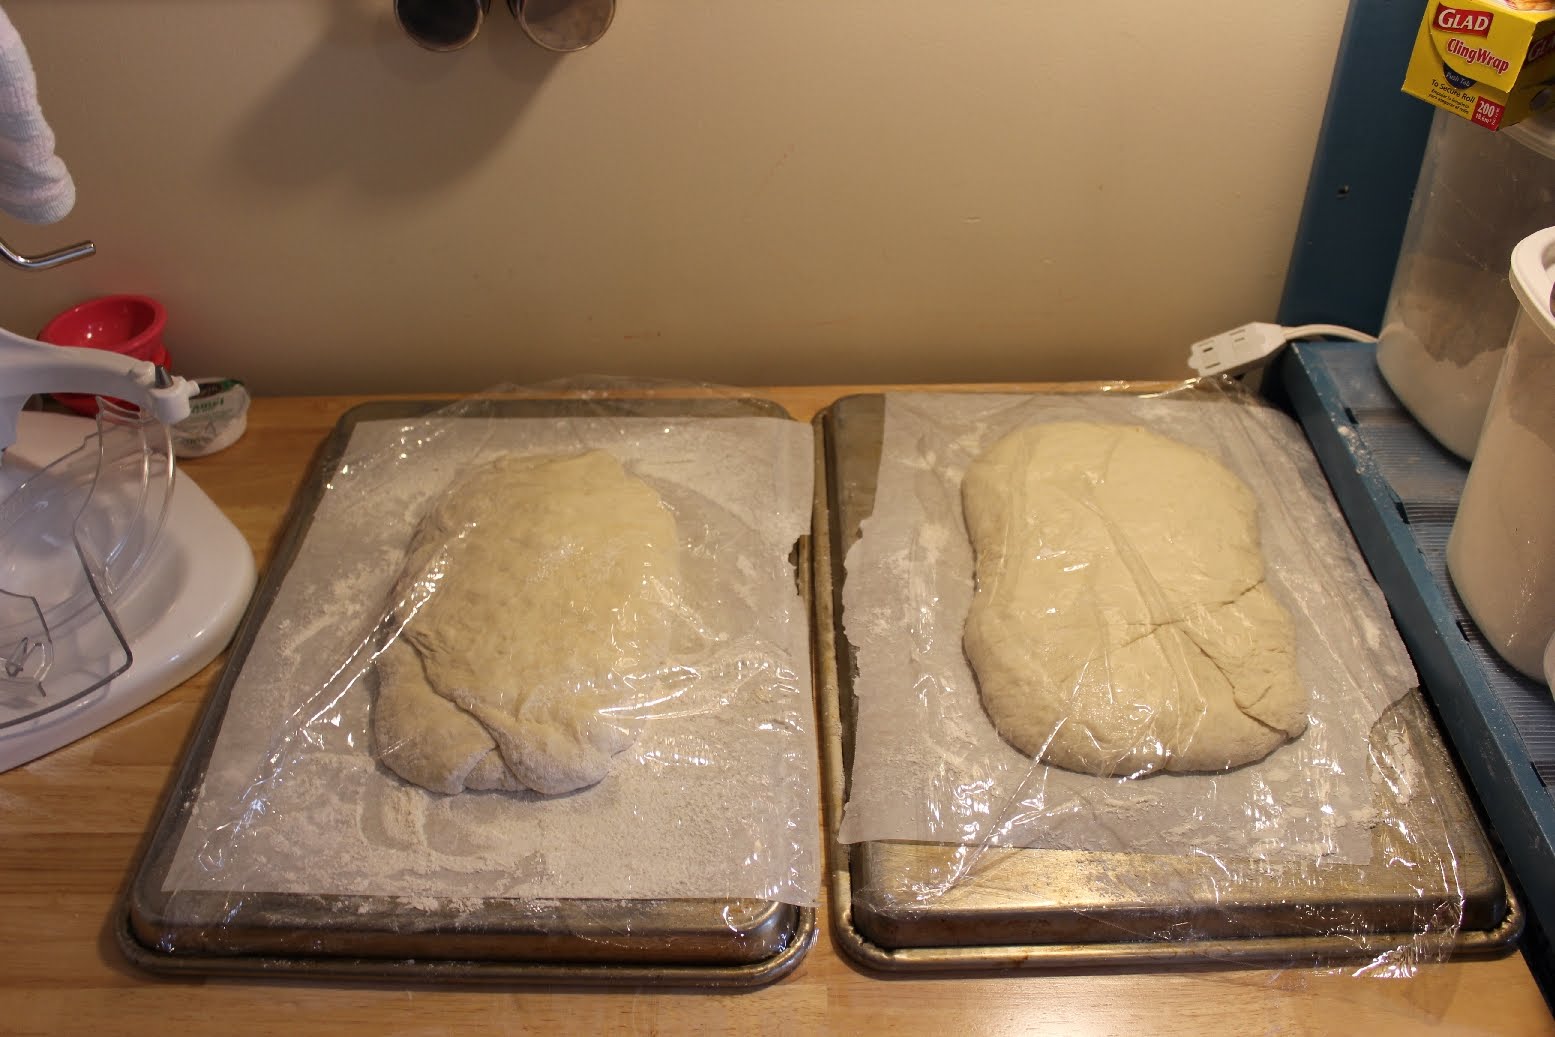
- Top two large rimless (or inverted) baking sheets with parchment paper and dust the paper liberally with flour. Turn the dough out onto a well-floured counter, dust the top of the dough with flour, and divide the dough into 2 equal pieces with a wet dough scraper. Use well-floured hands and the dough scraper to transfer each piece of dough to a prepared baking sheet, folding the sides of the dough over the middle (as if you were folding a letter into thirds). Gently stretch each piece into a 10 by 5-inch rectangle with well floured hands. Mist the loaves with vegetable oil spray, cover loosely with plastic wrap, and let rise in a warm place until nearly doubled in size and the dough barely springs back when poked with a knuckle, 1 to 1-1/2 hours. This step was pretty hard for me - and impossible to take pictures of - and I did not do the best job of forming my loaves. Although my second try (left) was better than the first (right)

- Meanwhile, adjust an oven rack to the lowest position, place a baking stone on the rack, and heat the oven to 500 degrees. Let the baking stone heat for at least 30 minutes (but no longer than 1 hour). I do not have a baking stone, so I used an inverted baking sheet and pre-heated it in the oven.
- Working with one of the loaves (keeping the other covered), spray lightly with water and carefully slide it onto the hot baking stone with the parchment. Bake for 20 minutes, then remove the bread from the oven and discard the parchment. Return the bread to the oven, bottom side up, and continue to bake until the center of the loaf registers 210 degrees on an instant read thermometer and the crust is deep golden brown 15 to 20 minutes longer, rotating the loaf halfway through baking. I did this with one loaf, but when I went to turn it half-way through the upside-down baking, I found out it was burning. On the second loaf, I skipped the “turn upside-down” part of the directions and simply baked it for 10 extra minutes. The crust turned out perfectly crispy on both sides. I assume this is because I used a baking sheet rather than a baking stone.

- Transfer the loaf to a wire rack and repeat with the second loaf. Let the bread cool to room temperature (right side up), about 2 hours, before serving. We were eating this for dinner and I didn’t have 2 hours to let it sit. In the future I will let this bread sit. The texture was a bit spongy/moist. I think letting it sit helps the center set up.
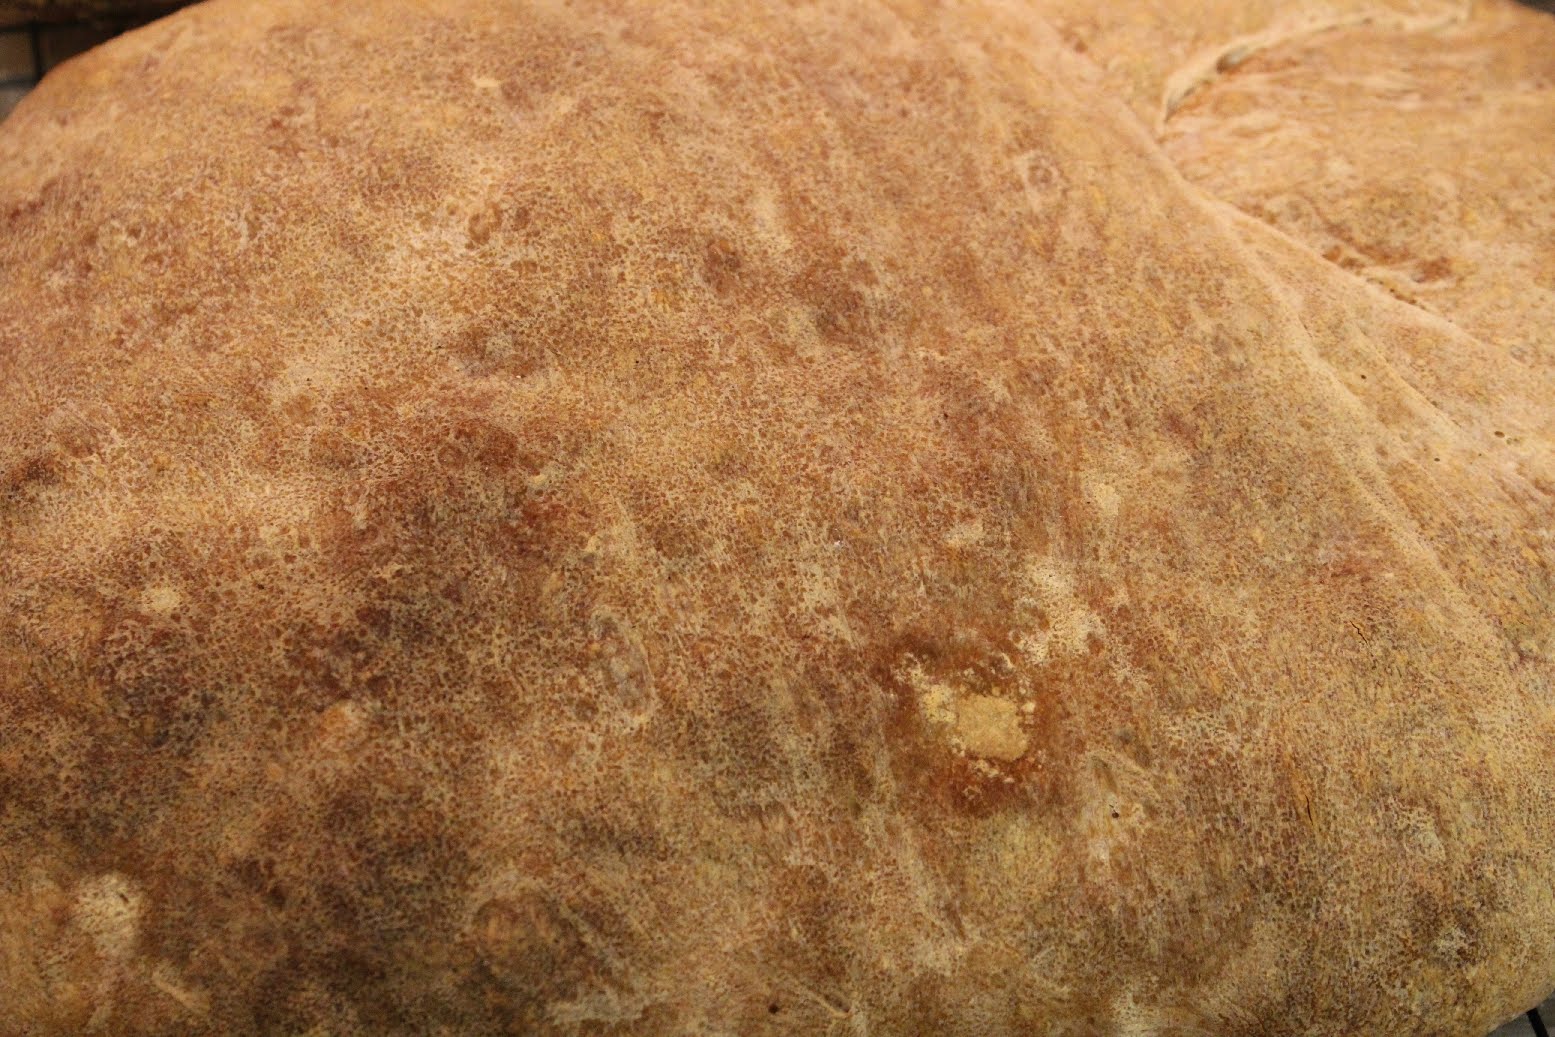
Nick took this picture of the bread, and when I saw it on the camera later I thought it was the surface of a planet at first! So pretty.
We made sandwiches with lemon chicken, roasted red pepper and pepper jack cheese. Yum! The rest of that loaf accompanied soup. I wrapped and froze the second loaf so I can test out how well it freezes.
 I also tried something new to keep the bread fresh overnight. I didn't want to wrap it up because we get mold incredibly quickly when we do that. I read that you could leave it out on your cutting board with the cut-side down. We tried it and it worked really well. No stale cut-end the next day, and the crust was still nice and chewy.

7 comments:
I couldn't get enough of the Babka either! I am so glad you are baking with us and I am totally jealous of you picking a major that was practical. And it sounds like fun. How cool that you live near Washington DC?! I will go there one day, mark my words. Your bread looks great and you did a marvelous job hosting, thanks!!
Now that you mention it, mine looked like a planet too! Your sandwich looks so yummy, I wish I would have done that as well.
I also graduated in FACS Ed... small world. Where did you go to school? So fun to read more about you. DC... too fun. LUCKY!!!
This was a fun pick. Your bread looks fabulous. One of my loaves got a little black too. Oh well, tasted yummy.
Thanks !
Very pretty bread and the sandwich looks delicious. I will have to make that for dinner.
Your sandwich looks amazing!! I also love that you were a "home ec" major. Looking back-- that is totally what I should have done! It's what I love most and I probably would have skipped class less!! :)
Like the photos...this is one of my fav breads.
~Carmen
http://bakingismyzen.wordpress.com
Emily, you are SO talented! I don't know that I could replicate that even with your expert pics... Thanks for sharing!
Post a Comment