Wednesday, November 14, 2012

Bake 52: Pumpkin Spice Cheesecake

Nick was very excited to hear what this week's recipe was. Cheesecake is his favorite dessert. And he gets it all to himself in this house :) I'm not a cheesecake person, but it was nice to finally make one for him! 

For my first-ever cheesecake, I think it turned out pretty well. I did not have a roasting pan, so I just stuck it in the oven without it. Unfortunately, some liquid seeped out of the spring form pan and smoked for the rest of the baking since I couldn't get in there to clean it up with the cheesecake baking. Since I didn't do the water bath, the top probably cracked and fell and little more than it might have, but it seemed to work out okay without it. 

For the 45 min. it was supposed to be out of the oven but still in the water bath, I just turned the oven off and let it sit in there for about 20 minutes. 

Nick's answer when I asked how it was: "Well, it's cheesecake, and it's pumpkin. Together." I took that to mean it wasn't the best cheesecake he's ever eaten! When I asked him for more explanation he came up with a gem. "I like cheesecake, and I like pumpkin pie. With them together it's like the cheese dilutes the pumpkin, and the pumpkin dilutes the cheese. It's cheesecake, but it's not. Like Renesme - she's a vampire, but she's not." 

So there you have it, folks. Pumpkin Spice Cheesecake - Vampire style (or not)
Go to Amanda's blog for the recipe. She says it's better as second-day cheesecake :)

Thursday, November 8, 2012

Bake 52: Red Velvet Layer Cake

I enjoy making layer cakes. Sometimes they turn out, and sometimes they don't. But when they do, it is very satisfying to see how pretty it is :)  I thought this cake turned out pretty well. The one thing I like about red velvet cake is the color of it. My color was a little pale because I didn't have regular food coloring, only the gel kind, so I wasn't sure how much to put in. The flavor of red velvet for me has always been 'eh'. 

This recipe came out with a great texture and a subtle flavor. I used the Vanilla Frosting recipe from the book. It's the first frosting recipe from the book that I would actually eat, though it's still not my favorite.

If you'd like to give it a try, head over to Janet's Blog for the recipe.


Wednesday, October 31, 2012

Bake 52: Apple Dumplings

This week was my turn to host. Since I knew everyone would be in the thick of Halloween, I went straight to the "Shortcut Baking" section of the recipe book. The apple dumplings sounded  appropriate for Fall, and looked quick to make. Plus, with all the candy to be consumed, eating a dessert made with half an apple seemed at least partly healthy ; )
I felt the dumplings were simple to make and had a fancy presentation. It may become a go-to dessert when we have company over. Hope you like it!

Apple Dumplings

Serves 4

This recipe uses refrigerated crescent dinner rolls as the pastry that wraps around the apples. We prefer Pillsbury’s Refrigerated Crescent Dinner Rolls, but any 8-ounce can of crescent dinner roll dough will work. Folding and rolling the dough ensures that the seams will not break open during baking. Serve with vanilla ice cream or a drizzle of heavy cream.

1 (8-ounce) can refrigerated crescent dinner rolls
2 small granny smith apples, peeled, cored, and halved crosswise
2 tablespoons unsalted butter, cut into 4 pieces
½ cup packed plus 2 tablespoons light brown sugar
¼ teaspoon ground cinnamon
1 cup apple cider 
Everything you need for the recipe!
Nick used a spiral apple cutter to make the peeling and coring quick and painless.

I think having the apple sliced made it easier to eat than it might have been unsliced.


The spiral-cut peel was also the perfect treat for the other member of our family : )
Cinnamon & brown sugar ready to go.
 1. Adjust an oven rack to the middle position and heat the oven to 350 degrees. Line a large rimmed baking sheet with parchment paper.

2. On a lightly floured counter, carefully unroll the entire can of dough, keeping the perforations intact. Cut the dough into four 6 by 3 ½-inch rectangles (do not tear the diagonal perforations). Fold each rectangle in half and roll out to a 6-inch square.
I used large apples because I couldn't find small, so I bought the "big" crescent rolls to compensate.
Fold.
Rolled 6-inch squares.
 3. Place an apple half, cut side down, in the center of each dough square and place a piece of butter in the center of each apple. Toss 2 teaspoons of the brown sugar with the cinnamon and sprinkle over the apples. Pull the edges of the dough up over the apple, twisting the dough ends to form a knot at the top.


I thought this would be harder to do than it was.
 4. Transfer the dumplings to the prepared baking sheet and bake until the crust is golden brown and the apples are tender but not mushy, 20 to 25 minutes, rotating the baking sheet halfway through baking.

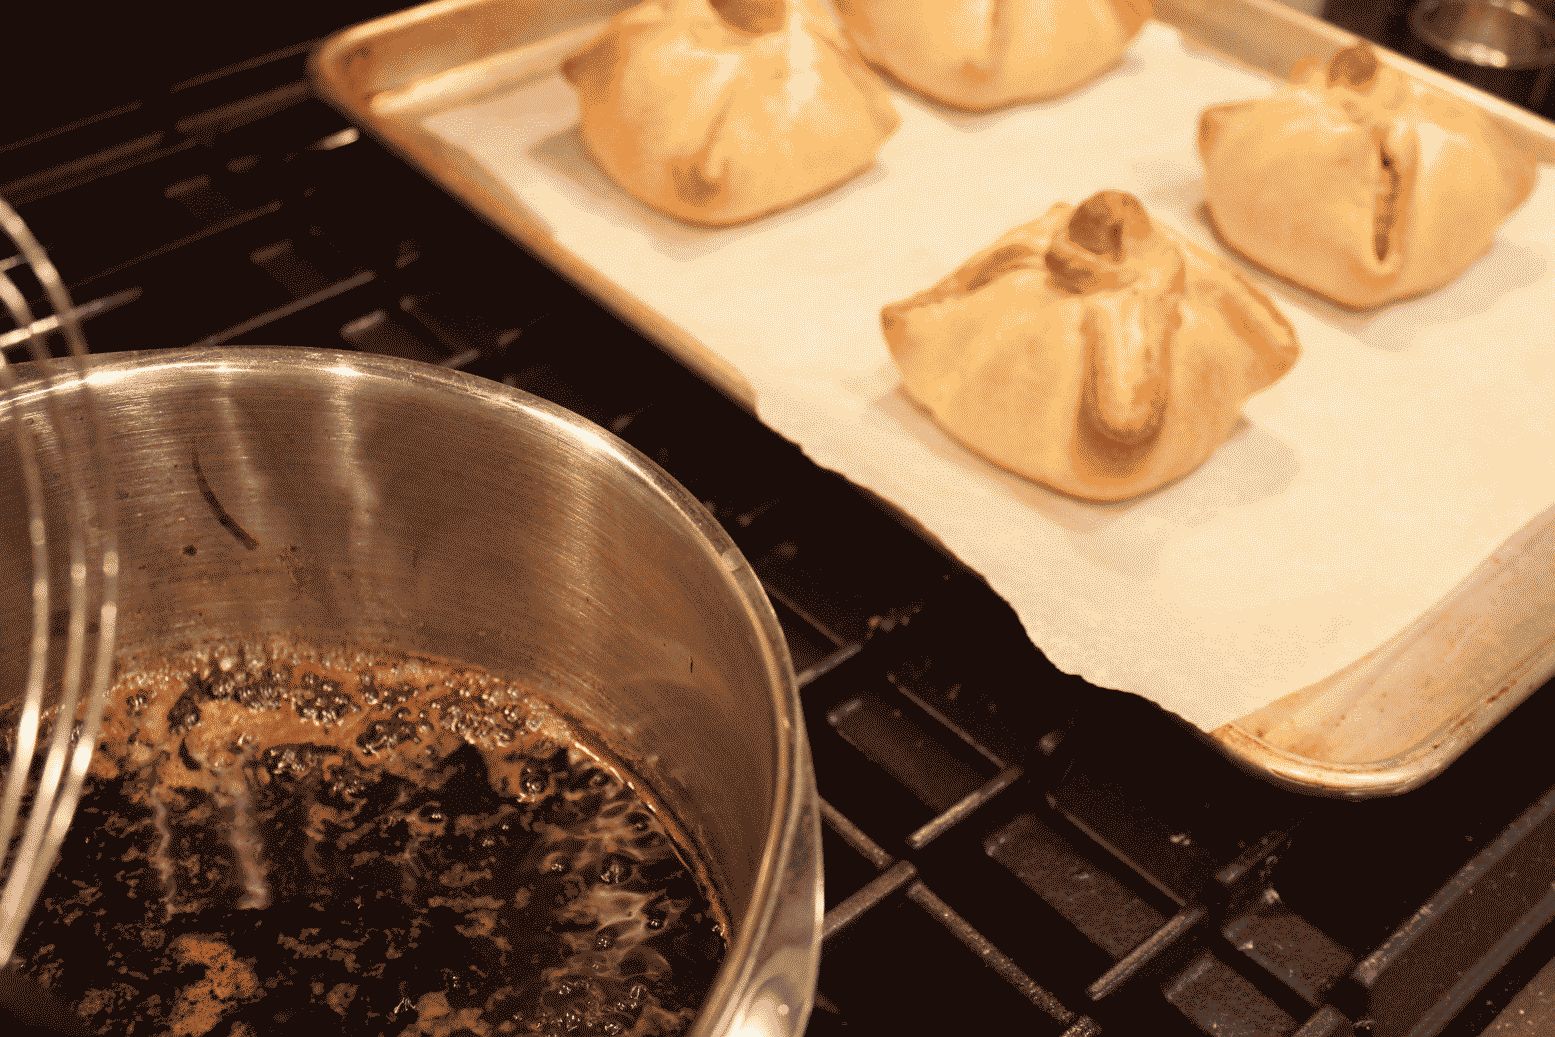
These were so incredibly pretty! I wish I'd poked the apples, though, because they could have used another minute or two to soften up.

5. While the dumplings bake, simmer the apple cider and remaining ½ cup brown sugar together in a small saucepan over medium-low heat until the sauce is slightly thickened and measures ½ cup, about 15 minutes.


6. Immediately transfer the baked dumpling to individual serving plates or shallow bowls. Pour 2 tablespoons of the cider sauce over each dumpling and serve.
Super pretty presentation with the sauce drizzled on top.
Next time I'll leave out the butter. I don't think it was very necessary - mine didn't even totally melt!

Since I used the larger apples and dough squares, these were perfect for slicing in half and serving with ice cream.
 TO MAKE AHEAD: The baked dumplings can be held at room temperature for up to 30 minutes before serving with the warm sauce.

Thursday, October 25, 2012

Long overdue house post

We bought our house back in April, which means it only took me 7 months to post some pictures of our place (pre-fill-it-with-all-our-stuff). Let's hope it doesn't take me that long to post some up-dated pictures. We have some fun decorating/furnishing projects on our plate right now, so I'll be sure to post them.
View of the kitchen from the family room.

Family room view 1

Family room view 2

Deck

Master bedroom

Bedroom 2

Bedroom 3

Awkward corner with a scary railing - overlooks all 3 stories.

Dining room from living room (that door leads to a half-bath)
Living room from dining room

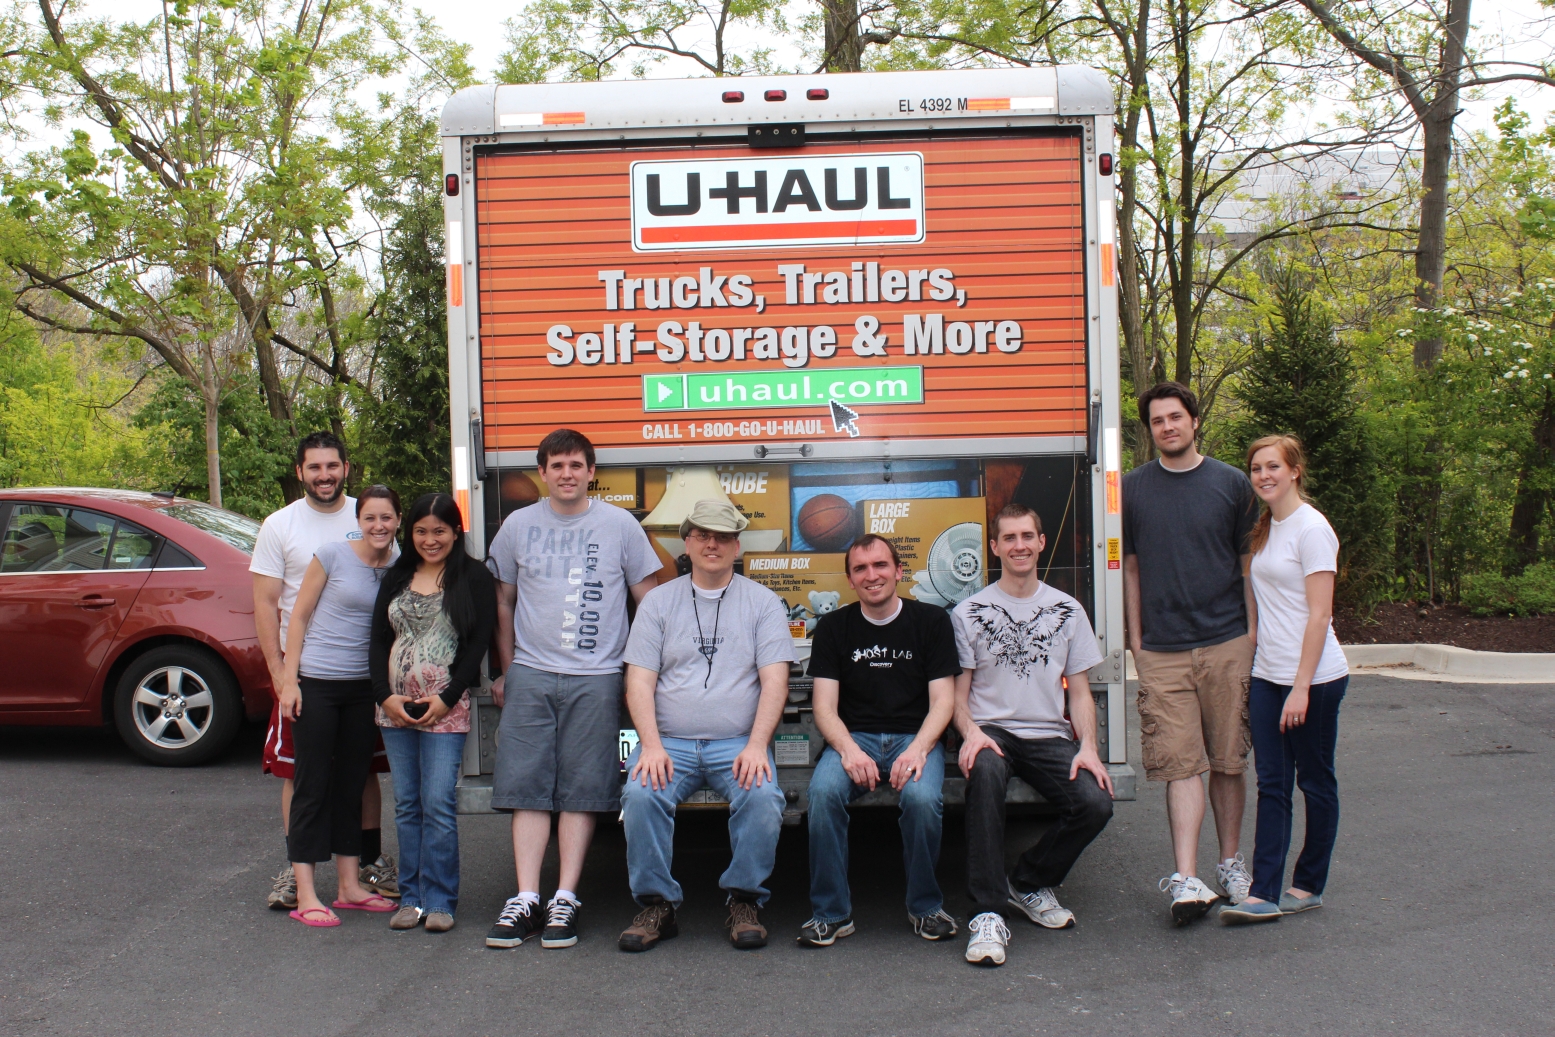
The most amazing part of this move is that it only took us 2 hours. We had the help of many amazing friends. While the men loaded all the boxes/furniture we already had ready, the girls packed up the kitchen. It wasn't long before that nice empty house was cluttered with boxes.


Thanks again to everyone who came and helped us out!


Wednesday, October 17, 2012

Bake 52: Oatmeal Scones

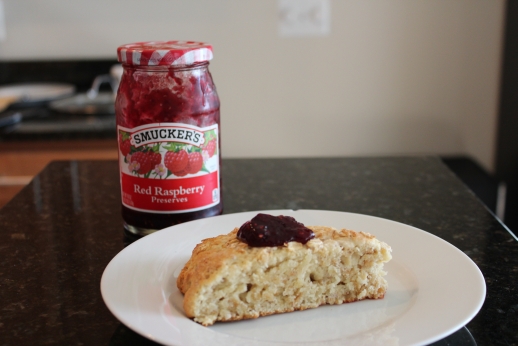
This week's recipe was chosen by Jennifer and you can get the recipe HERE. I was skeptical about the scones. I thought they might be too oaty for me. But I was pleasantly surprised. Nick took the first bite and said "Mmmmm, it's okay - a little bland". But by the third bite, he was converted. It's a scone that I didn't think was flavorful enough to eat on its own. It needs jam or honey to go with it, but it's a very nice recipe.


I also baked the pumpkin cake from last week. It turned out great, although I ended up with a thin layered of less-cooked batter at the bottom of the pan, which I thought was odd. I didn't have cream cheese, so I went without the frosting. It was moist and delicious!